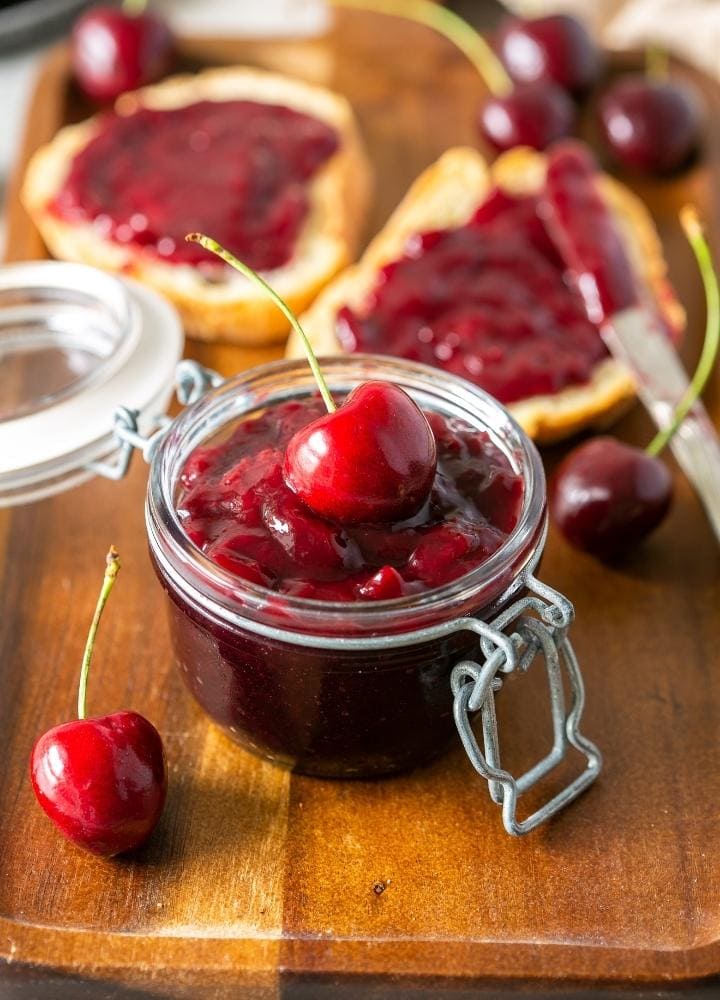
Learn how to make cherry jam without pectin - This homemade cherry jam recipe calls for just 3 simple ingredients!
If you have never made cherry jam at home don't be intimidated, it's actually very simple!
There's something so satisfying about making your own jams and preserves, it's a pretty straightforward process, and it's much healthier than most commercial brands.
First of all, you get to pick the best quality fruit, secondly, there's no need to add artificial preservatives, so you know exactly what goes in!
My best advice is to follow seasonality when making fruit jam, so you get to choose the fruits at their best. Since it's currently cherry season, I'll be sharing with you my go-to cherry jam recipe.
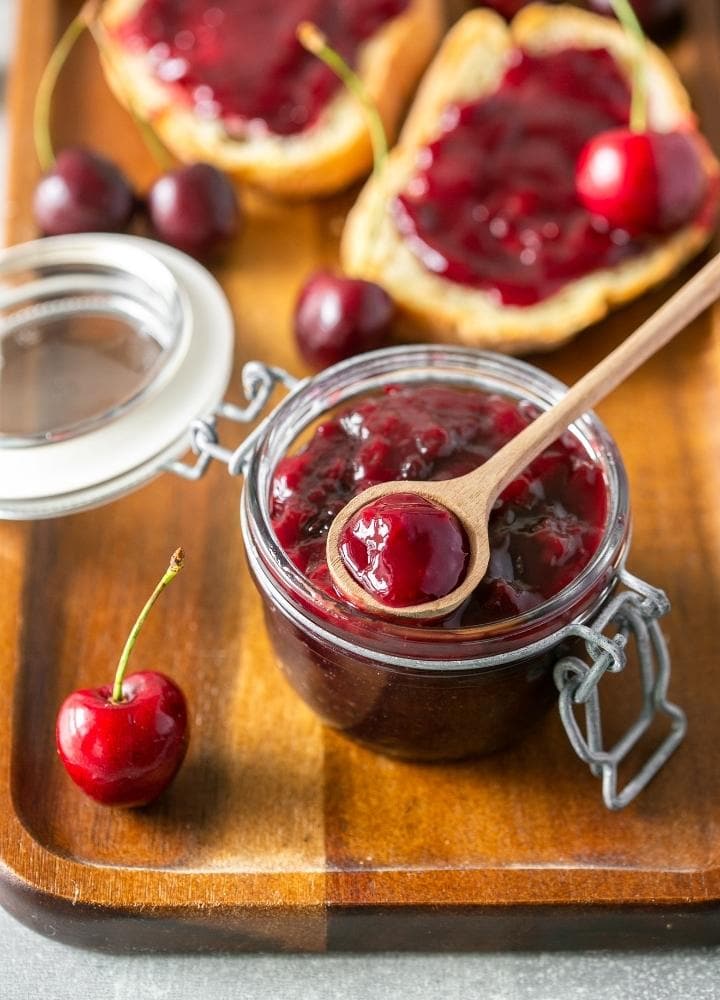
All you need is 3 simple ingredients to make cherry jam at home: cherries, sugar, and lemon.
The result will amaze you! You will get a cherry jam with an intense, sweet taste, typical of this fruit; you won't notice the lemon at all, but it will nicely balance the sweetness of the cherries and sugar.
Cherry jam is absolutely delicious served with slices of bread, scones, English muffins, or pancakes, for snacks and breakfast.
But it also makes an excellent filling for tarts, pastries, croissants, butter cookies, and so many other desserts!
Follow my step-by-step recipe and my jam-making tips, and I promise you'll make the best cherry jam ever!
Jump to:
CHERRY JAM INGREDIENTS
The flavor of homemade cherry jam all comes down to the genuine, fresh, and top-quality ingredients: whole fresh seasonal cherries, without bruises and perfectly intact, white sugar and lemons.
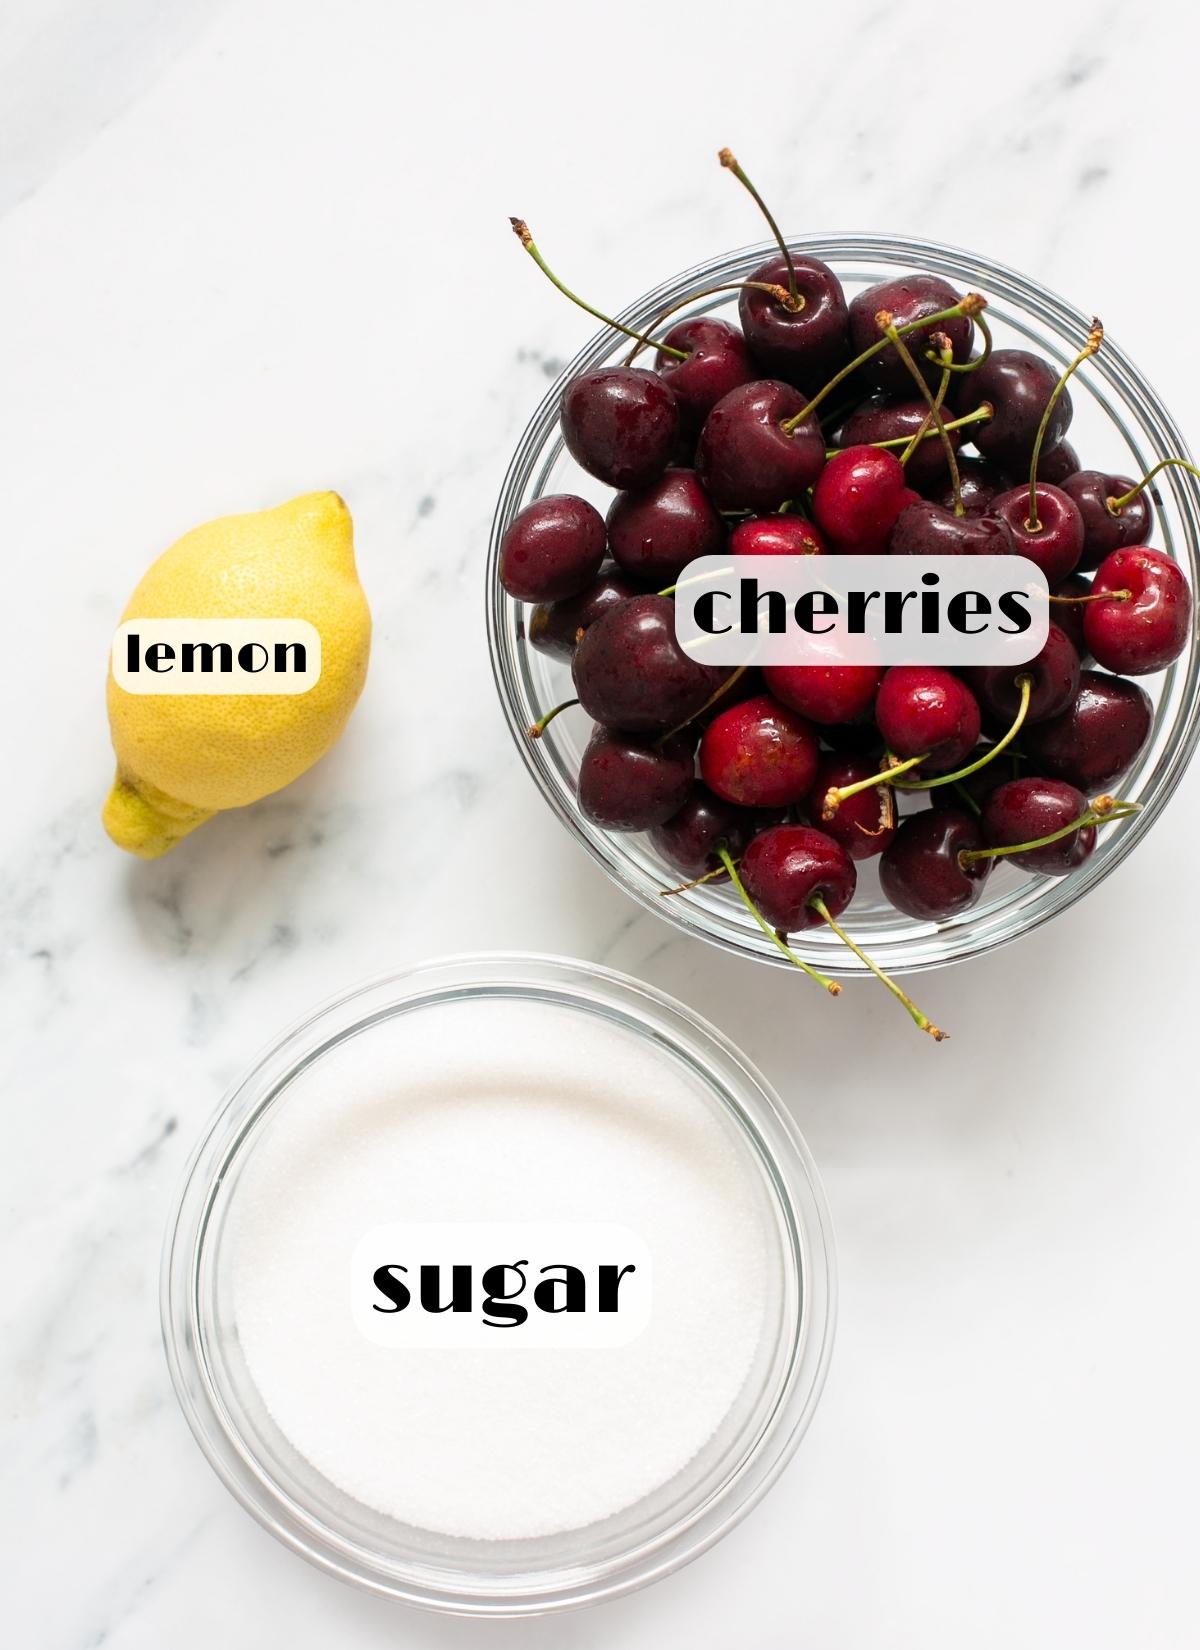
- Cherries: you can use the type of cherries you prefer, from the wonderfully sweet black cherries, to the more sour bright red bing cherries or a mix of various types.
- Sugar: regular coarse-grain granulated sugar is the best choice for making jam, preserving sugar and unprocessed cane sugar would work well too. Avoid "jam sugar" (also called "gelling sugar") because it has pectin added in.
- Lemon: when making jam with low-pectin fruit, such as cherries, you always need to add an acid or pectin. Freshly-squeezed lemon juice is high in natural pectin and will work as a thickener to help set the jam.
The secret to the best cherry jam without pectin is the addition of lemon peels and juice, both rich in pectin.
You add it while you marinate the cherries, and then whilst you cook them. This will result in a dense and not very liquid consistency.
HOW TO MAKE CHERRY JAM
Making homemade cherry jam is easier than you think, follow this step-by-step recipe and you'll have jars of delicious cherry jam to enjoy all year round!
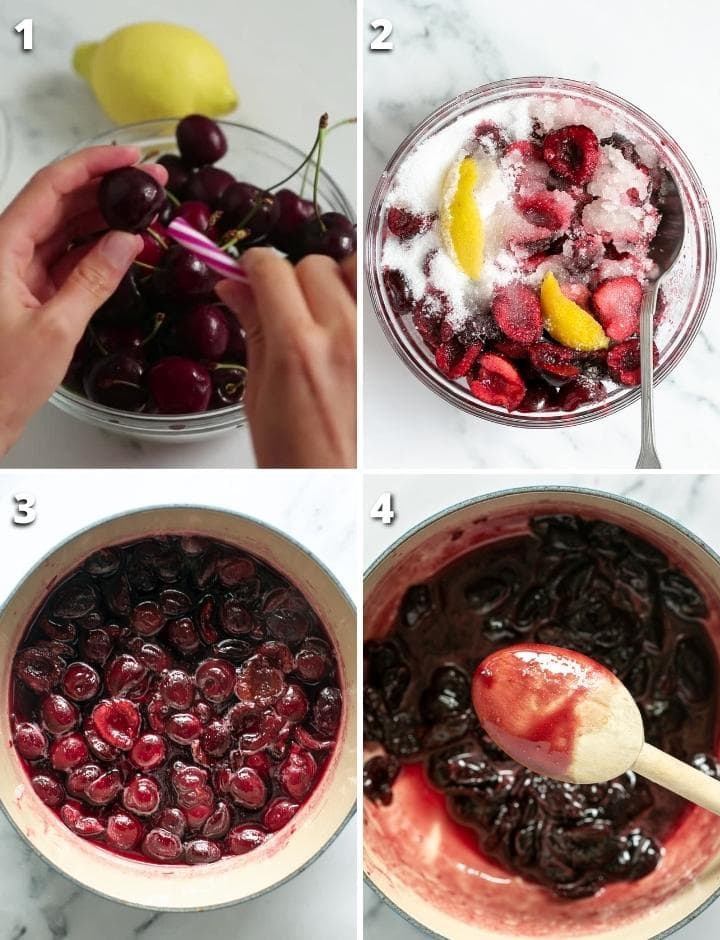
STEP 1 - Prepare the cherries.
First, you'll need to wash and pat dry the cherries. Remove the stem from each cherry, and press a chopstick or reusable straw down through the stem hole.
Gently but firmly press the chopstick down into the pit and push it out of the cherry. Then, weigh the cherries, cut them in half, and place them in a large bowl.
STEP 2- Marinate the cherries with sugar and lemon.
Add the juice of one lemon and two thick slices of peel to the bowl. Stir in the sugar, cover with cling film and refrigerate for 2 hours or up to 12 hours.
STEP 3- Cook the cherries.
Transfer the cherry mixture to a deep, heavy-bottomed dutch oven or stockpot, and cook over low heat for about 45 minutes.
STEP 4 - Check if the jam is ready.
Once the jam has reached a foamy rolling boil, start checking if it's ready with a kitchen thermometer or using the "wrinkle test". The jam is ready when it sets when spooned onto a plate that’s been chilled in the freezer.
Remove the pan from the heat, and discard the lemon peels.
Allow the jam to cool, then you can leave it chunky, or blend it for a few seconds until it reaches your desired consistency.
Pour into prepared jars and fill leaving about ¼ inch headspace.
HOW TO STORE CHERRY JAM
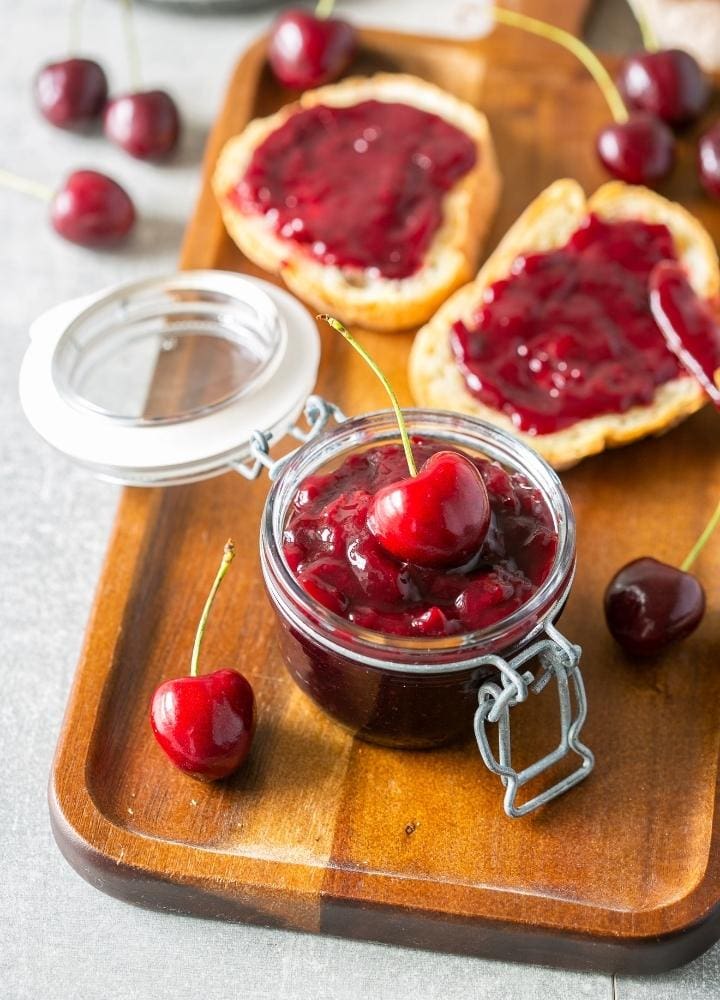
Once ready, unless you sterilize the jars, your homemade cherry jam will keep well in the refrigerator for about 2 weeks.
To store in the fridge for a longer period, you need to sterilize the jars before using them. This will get rid of any bacteria and mold, which would spoil your homemade jam.
Simply wash the jars and their lids in hot soapy water, and transfer them to a clean baking tray.
Put them in a preheated oven to 150°C/300°F for 10-15 minutes, then pour immediately the cherry jam and seal the jars.
Allow them to cool then store them in the refrigerator, they should keep well for several weeks.
To preserve the jam for months, and avoid any bacteria and mold, which would spoil your homemade jam, I'd suggest you go through the canning process, here's a great guide on how to can jam safely.
Yes, it's safe to freeze homemade jam. You can freeze jam in plastic reusable zip lock freezer bags or in freezer-safe glass containers.
Press out any extra air before zipping them up. Leave at least ½ inch free space at the top of the glass container to allow for expansion in the freezer. When properly stored, jam can last for up to 6 months in the freezer.
TIPS FOR MAKING CHERRY JAM
- You'll need 500g (17oz) of pitted cherries - about 1,2 kg (2-½ pounds) of unpitted cherries.
- Depending on the degree of sweetness of the fruit, you can increase the sugar amount. I used mostly sweet black cherries, so if you're using mostly bright red cherries, increase the sugar amount by ⅓ US cup or 70 grams.
- You can marinate the cherries for 2 hours up to overnight. A longer marinating time will increase the release of pectin from the lemon.
- A wide pan – big enough so that the fruit comes no more than halfway up the side – is better, as the jam will reach the setting point more quickly.
- Use a wooden spoon to stir your jam as it cooks, avoid metal utensils.
- The easiest way to test your jam is by using a kitchen thermometer, the setting point for jam is 220°F / 105°C.
- You should start checking the temperature when the jam has reached a rolling, foamy boil.
- If you don't have a kitchen thermometer, try the “wrinkle test.” About 10 minutes before cooking the jam, place a heat-proof plate in the freezer. When it's time to test your jam, spoon a little onto the cold plate. If the surface of the jam wrinkles when you nudge it with your finger, the jam is ready.
Recipe
Cherry Jam - Just 3 Ingredients
Ingredients
- 1.2 kg cherries, or 500g (17oz) pitted
- 450 g sugar
- 1 lemon, preferably organic
Instructions
- Remove the stem from each cherry, and press a chopstick or reusable straw down through the stem hole. Gently but firmly press the chopstick down into the pit and push it out of the cherry. Then cut them in half or roughly chop them, and place them in a large bowl.
- Add the juice of one lemon and two thick lemon peel slices to the bowl. Stir in the sugar, cover with cling film and refrigerate for 2 hours or up until 12 hours.
- Transfer the cherry mixture into a deep, heavy-bottomed dutch oven or stockpot, and cook over low heat for about 45 minutes, stirring frequently.
- Once the jam has reached a foamy rolling boil, start checking if it's ready with a kitchen thermometer or using the "wrinkle test". The jam is ready when it reaches 220°F / 105°C or when you spoon a little jam on a chilled plate and it starts to wrinkle after one minute. If it still liquidy, continue to boil the jam for 5 minutes then retest until it's done.
- Use a spoon to skim any scum that has risen to the surface and discard this. Remove the pan from the heat, and discard the lemon peels.
- Allow the jam to cool, then you can leave it chunky, or blend it for a few seconds until it reaches your desired consistency.
Video
Notes
- You need 500g (17oz) of pitted cherries - about 1,2 kg (2-½ pounds) of unpitted cherries.
- This recipe makes enough for a full medium-sized jar.
- Depending on the degree of sweetness of the fruit, you can increase the sugar amount. I used mostly sweet black cherries, so if you're using mostly bright red cherries, increase the sugar amount by ⅓ US cup or 70 grams.
- You can marinate the cherries for 2 hours up to overnight. A longer marinating time will increase the release of pectin from the lemon.
- A wide pan – big enough so that the fruit comes no more than halfway up the side – is better, as the jam will reach the setting point more quickly.
- Use a wooden spoon to stir your jam as it cooks, avoid metal utensils.
- The easiest way to test your jam is by using a kitchen thermometer, the setting point for jam is 220°F / 105°C.
- You should start checking the temperature when the jam has reached a rolling, foamy boil.
- If you don't have a kitchen thermometer, try the “wrinkle test.” About 10 minutes before cooking the jam, place a heat-proof plate in the freezer. When it's time to test your jam, spoon a little onto the cold plate. If the surface of the jam wrinkles when you nudge it with your finger, the jam is ready.
Nutrition
The information shown is an estimate provided by an online nutrition calculator. It should not be considered a substitute for a professional nutritionist’s advice.




Leave a Reply